5 Tips for Journalists to Find Lost Files and Folders on Mac
Are you missing a file or folder that you saved on your Mac sometime back? Worry not. Here are five tips on how to find documents on Mac.
As a journalist, you need to have documents and other files easily accessible. You may have a folder with articles, interviews, and other media that you need for your work. These folders also need to be easily accessible.
But what happens if you are missing a file or folder that you saved on your Mac? What if you saved these a long time ago and cannot seem to find them?
In this guide, we will show you how to find documents on Mac. Follow these tips to ensure you never have difficulty in recovering ‘lost’ files and folders.
Nothing is more stressful for a journalist than to waste time trying to find a file or folder you need for your next news piece.
These five tips will show you how to quickly find these files and folders so you don’t have to waste your time and can focus on getting your work done!
- Basic Search with Spotlight
Sometimes your files and folders are just a quick search away. If you do not already know how to search on Mac, it could not be simpler.
The first call of action should always be to search using Spotlight. All you have to do is click the magnifying glass icon on the upper right of your screen. This will open the Spotlight search bar.
Simply type in the name of the file or folder that you are searching for. More often than not, it will immediately show up in a dropdown list and all you have to do is click on the file or folder in the dropdown list. Your file or folder will open and you are all set!
If your search is more complex and you cannot immediately find what you are looking for, there are more advanced searching features in Spotlight. At the bottom of the dropdown list, you will see Show all in Finder.
By clicking on this text, you will open the Finder along with all the search results. You will see a plus (+) sign on the righthand side of the Finder. This will let you enter additional search criteria to narrow your search and eventually find your file(s) or folder(s).
Note: You will also notice that a newer Mac has Siri installed. You will see the icon right next to the Spotlight icon. After setting up Siri, you can always ask Siri to locate or open the file(s) and folder(s) you need.
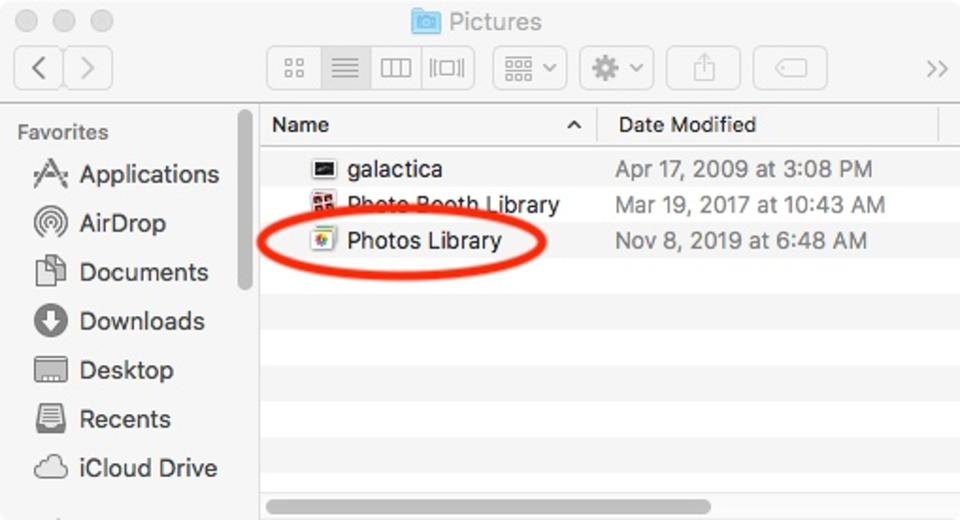
- Hidden Desktop Files
The desktop is one of the easiest places to save your files. Sometimes our desktop files can be hidden.
Luckily, there is a way to find these ‘hidden’ files.
Open the Terminal app. Once the Terminal app opens, enter the following command in the app:
defaults write com.apple.Finder Apple Show All Files true and kill all Finder
This will show all the previously hidden files on your desktop.
Note: If you are using MacOS Mojave, you will have the Stacks feature. If you enable the Stacks feature, your desktop files will automatically be ordered neatly – by type. This means that PDFs will be in one corner, videos in another, etc. This will make it much easier to easily access and find your files on your desktop.
- Time Machine
It could be that you accidentally deleted the file(s) and folder(s) that you are looking for. The first thing you should do is check your Trash. With the click of a button, you can easily recover these file(s) and folder(s) and you are all set!
But if this accessing the Trash not work, you can use the Time Machine.
You should always use the Time Machine on occasion to back up your file(s) and folder(s). Once you have backed up files, you can connect your external hard drive and access the Time Machine.
Once the Time Machine is open, select the date(s) that you backed up your file(s) and folder(s). You should be able to find what you are looking for with ease, and then you can easily drag and drop these files from the Time Machine to your Mac.
Of course, not everyone uses the Time Machine feature on their Mac. But we highly recommend it to make sure you always have a safe backup of your data.
- Data Recovery Tool
But if you never got the chance to backup your file(s) and folder(s) through the Time Machine, there is always the Data Recovery Tool.
Fireebok Data Recovery is an app for recovering lost files on your Mac. We strongly suggest you have this app installed even if you have other methods of backing up and recovering your data.
Once you have opened the app, select the Macintosh HD icon on the main interface. Select the ‘Deleted Recovery’ option and then Start Scan.
You will find a list of deleted files and folders. Simply select the one(s) that you wish to recover and click the Recover option to have them saved onto your Mac.
- Recover From iCloud
The iCloud was made for situations such as these. Your Mac has a limited amount of hard drive space. An alternative method to storing your files and folders is to back them up on cloud storage. iCloud is the best method for this.
If you cannot find your data on your Mac, it is likely that it was automatically backed up on the iCloud servers.
To recover this data, simply visit iCloud.com on your web browser. Login with your Apple ID and your password.
Scroll to the bottom of the screen and choose Restore Files under the Advanced section. You will then see a list of files that have been deleted from your Mac and temporarily backed up on the iCloud. You will also see the expiration date for each file; it is on this date that the file will be deleted forever.
Simply select the files you wish to recover and click the Restore link. Your files are now ready for you to access!
How to Find Documents on Mac — And More!
Now that you know how to find documents on Mac, you can quickly find your files and folders and focus on your work. But, we have lots more where that came from!
Be sure to read more on how to use the great features on your Mac.